Thursday, May 31, 2018

First Flight

The timing of this just couldn't have worked out any better:  This aircraft was completed on May 31, 1928 and on May 31, 2018 - 90 years later it is back in the air!

The aircraft flew just great.  No issues at all.  Cruise speed seems to be about 80 MPH, and I was coming in to land at about 45 MPH.  The airplane has no airspeed indicator, so this was all based on ground speed that I got from my GPS.


Pat Weeden from the Kelch Museum put together a nice video.  Here is a link:  
https://www.youtube.com/watch?v=HCMiPb3vknM

So now, I'll just be putting more time on the airplane.  The plan is to take it to EAA this summer.  They mentioned it would be on display in front of the Vintage Headquarters all week.  So please, stop by and say hi.  If you miss it at EAA, you can see it just about anytime at Brodhead, and will for sure be flown during Grassroots in September.

I hate to put an end to this blog just yet, so I'll continue to ad a few more updates throughout the summer.  Thanks to everyone that has been following!


Saturday, May 26, 2018

100% Done and Ready to Fly!


After 5 years and about 3500 hours the L-P is ready to fly!


One of the biggest hurdles was getting the Airworthiness Certificate.  Fortunately, I worked with a couple of great guys from the Milwaukee FSDO that really went to bat for me on getting this aircraft certified.  Part of the delay was just that fewer and fewer Fed's have experience with antique airplanes.  Everybody learned a lot through the process.


While I was waiting on the A/W Cert., I put about 5 hours on the engine.  The last troublesome thing to repair was a cracked oil pump.  The pipe thread fitting that screws in the side of the pump goes into a thin part of the casting, and that is where it cracked.  Leaked like crazy when the engine was cold, but quit leaking when hot.  I built up a new one and we are back in business. 


I also finished the wheel covers.  As you can see in the pictures, they are painted and have the grommets installed.  They are held on the wheels with leather lacing cord.

And finally, the cowling could finally go on.


I've also been doing some taxi tests.  I changed the tail skid to help with steering.  As you recall, this aircraft has no brakes and just a tail skid.  The original one had keels on the bottom which made steering difficult - basically stick full forward and a blast of power.  That part was OK, I just didn't like the side load it put on the leaf spring and lower longerons when the tail came back down.  I replaced it with more of a spoon-shaped skid that made a huge difference.


Everyone always asks "when are you going to fly it?"  Well, I don't like a large audience when I first test fly an airplane, so it will just be a spur of the moment decision.  All I can say is that it will be in the next couple of weeks.  I'll be sure to make a post with a video when that happens.


Friday, April 20, 2018

1st Engine Run

A major milestone today.  After 89 years, the OX-5 on the Lincoln-Page has run for the first time!  All went quite well.  It started on the third pull of the propeller and after running for a while, it developed the normal water and oil leaks that were addressed.  Oil pressures and water temps were outstanding, and the engine ran great.  Very happy!


Here's a link to a video too:   https://www.youtube.com/watch?v=MGiE55MsXW4


I got a little over 2 hours of run time on it today.  Would like to get about 4-5 more before the first flight which will probably happen in the first couple weeks of May if everything continues to go well.

Check back soon!


Thursday, March 8, 2018

Cockpit Combing and Wheel Covers

It's been a long winter...

The L-P is ready for engine runs and first flight whenever we get some warmer weather.  In the meantime, I finished and installed the cockpit combing and made the wheel covers.


 As I mentioned in previous posts, all the upholstery was made from a leatherette material used on Ford Model T roofs.  It is called cobra-grain and fortunately it is available through car restoration shops.  


I had all the original pieces so they could be used as patterns.


I'm blessed to have a talented wife that could sew all this together.  Configuring the pieces was critical because unlike leather, this stuff has no stretch.  This meant all the curves had to be sewn in.


 Here's one of the finished pieces for the front cockpit


Here are some pictures of the final installation.  They are laced on with leather lacing cord.


Here are the wheel covers I made.  Steps were:

1.  Used a bead roller to form the bead
2.  I then formed the flange by hammering the metal over the edge of a wood disc.
3.  Formed the raised curve on my english wheel.

The left ones are for the inner part of the wheel and those on the right for the outer.  They are attached to the wheels with leather lacing through grommets.  These will be painted the same red as the rest of the airplane once it gets warmer.


The next post should be the engine run.  Let's hope it all goes well!


Sunday, December 10, 2017

99.9% Finished

After 4 years and nearly 3500 hours, the Lincoln-Page is mostly finished.  I've got 3 items yet to complete, with only the last one being a critical, airworthiness item:

  1. Fabricate the wheel covers
  2. Fabricate the cockpit combing
  3. Ground-run/break-in of engine
I'll mention more about those, but here's what I did since the last post.


Javelins for the flying/landing wires were made and installed.  I made them from maple and they are attached with rib lacing cord.


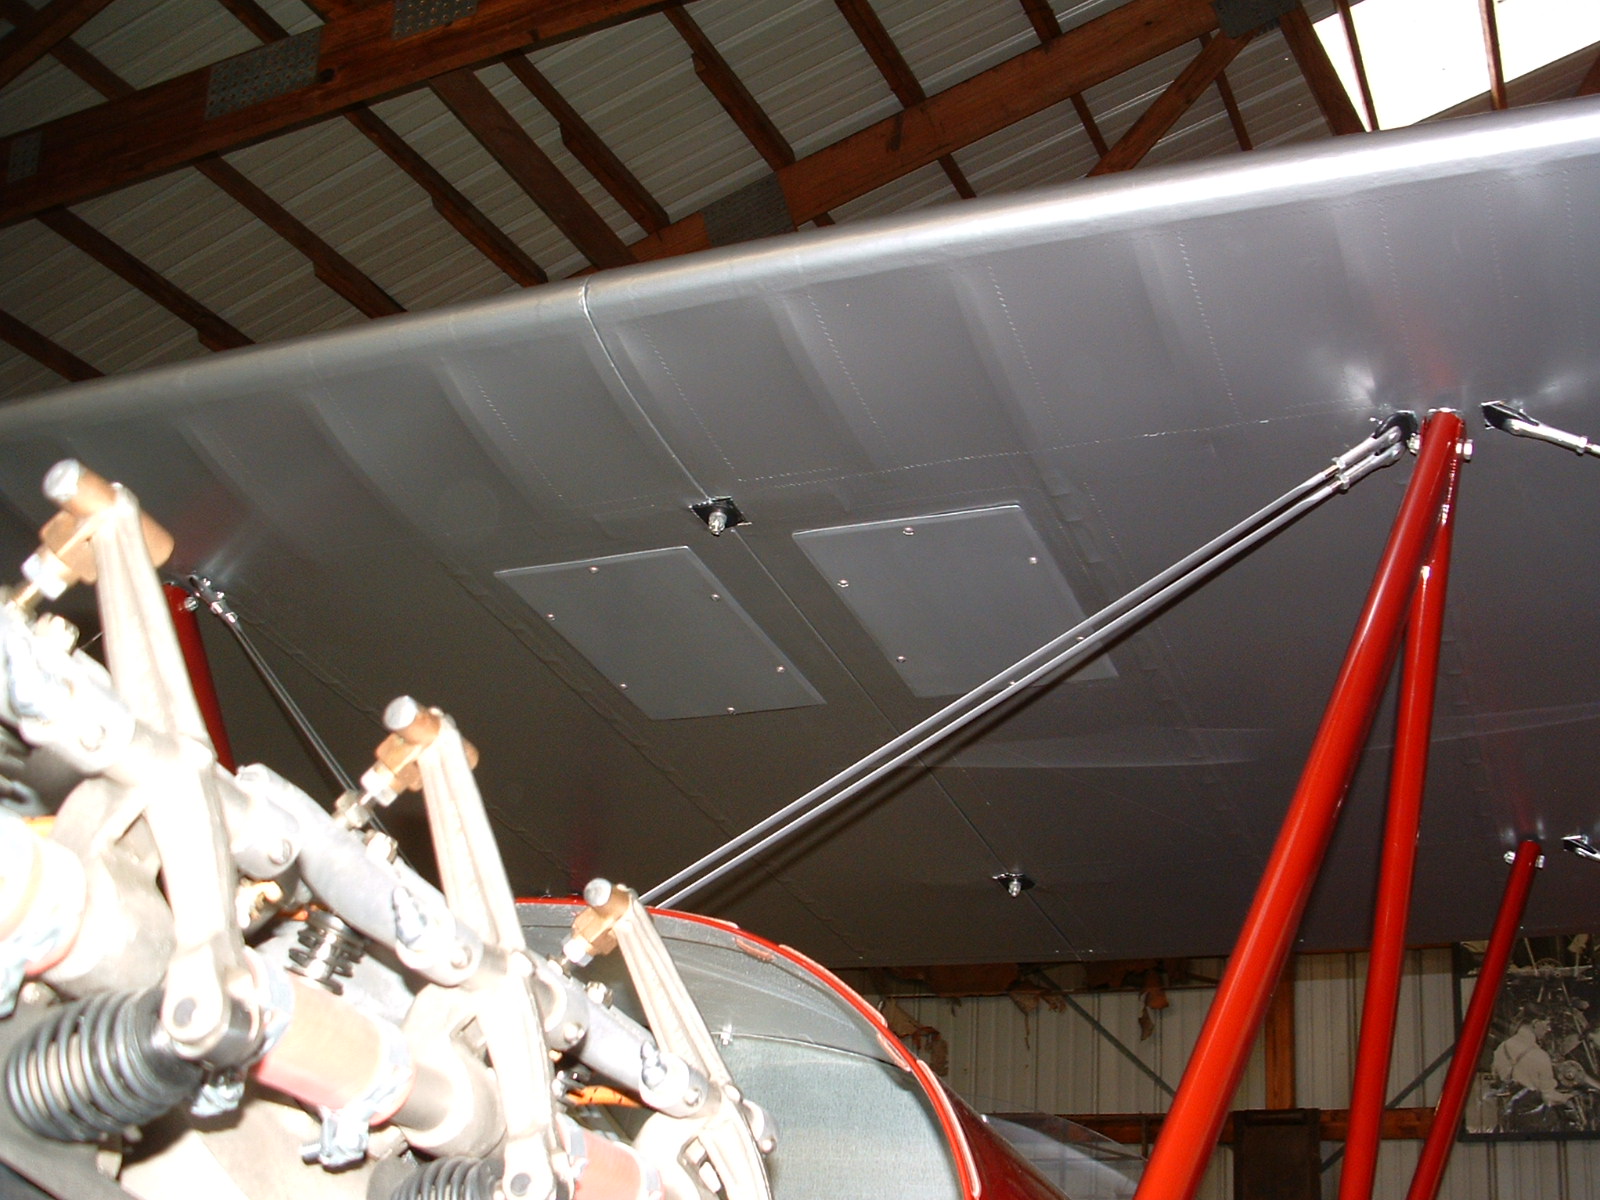
These are the inspection covers I made for the upper and lower wings.  They go on the bottom near the root of the wings.
Upper wing inspection covers

Lower wing inspection covers


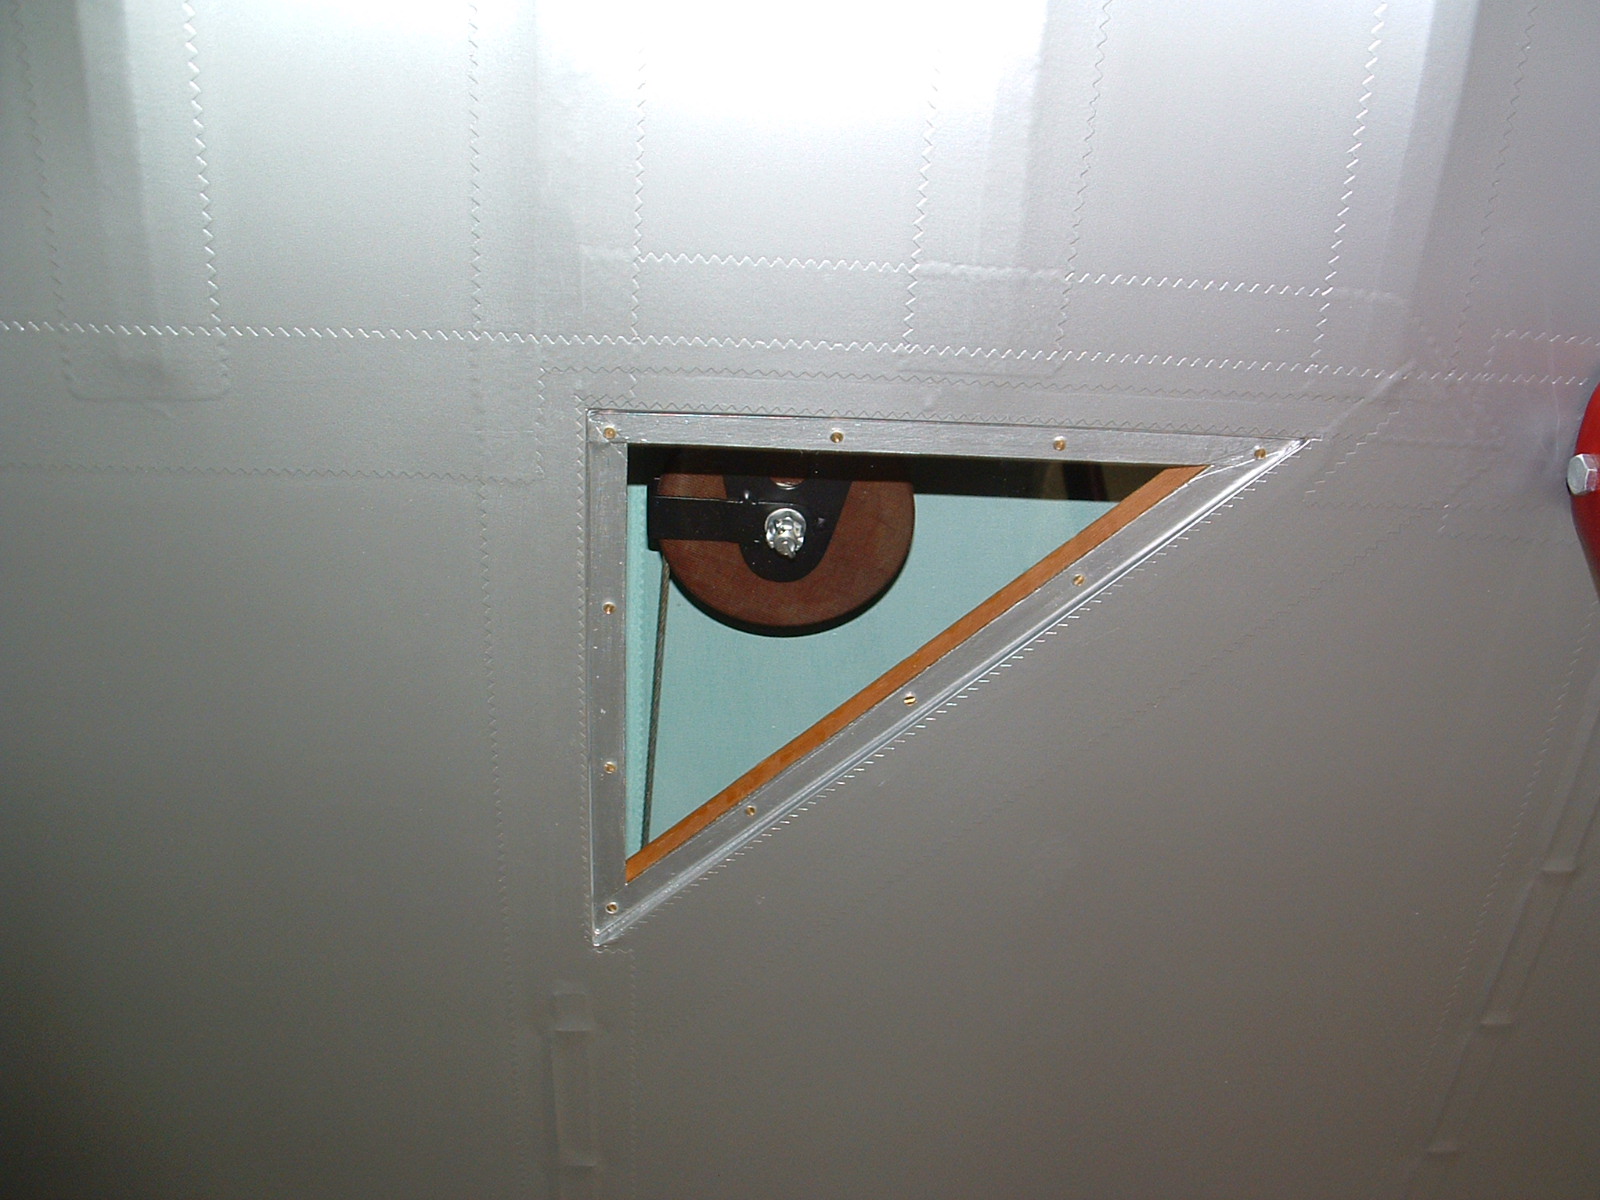
Clear inspection covers are installed over the aileron cable pulleys on each wing panel.


With the full weight of the airplane now on the gear, I could make and install the bungees.  I was fortunate to still have one of the originals - it is shown on the right in the photo.  An interesting way to terminate the loop.  It is wrapped with copper wire and soldered.


Here are the bungees installed...


And finally, I got the propeller permanently installed along with the spinner cap.


With the airplane fully assembled, it was time for weighing it and completing the weight and balance report.


Here I am hooking up cables and fiddling with the control box.


Getting ready to roll the airplane on the scales.

If you've worked with any airplanes from this era, you'll know that very minimal weight and balance information was provided by the manufacturer.  They assumed that the airplane could be loaded to the extremes for which it was designed and still safe to fly.

For this particular airplane, it has a gross weight of 2200 pounds with no CG or CG limits published.  

It weighed exactly 1500 pounds, providing a useful load of 700 pounds.  I guessed the airplane was going to be 1600-1700 pounds, so I was very happy that it came in at this weight.


It was now time for the mountain of paperwork to be completed so I could schedule the FAA for the Conformity Inspection.  For this inspection, the airplane and all the paperwork has to be completed along with the airplane signed off for an annual inspection.  Then, an FAA Form 8130-6, Application for an Airworthiness Certificate is submitted to the FSDO.  So, here is what I had to have ready:
  • All the 337's completed
  • Weight and balance report
  • Operating limitations
  • Logbook entries for the restoration and engine overhaul along with the annual inspection sign-off's
  • FAA Form 8130-6
Two inspectors from the Milwaukee, WI FSDO came out this past Friday to look everything over.  It ended up being more of a learning experience for them, as they never dealt with an aircraft that has only 3 things on the Aircraft Specification (Type Certificate Data Sheet).  

The inspection went very well with no issues found.  There is a requirement that they have to see the engine operate, but told them that I was going to wait until spring because of the cold temperatures.  When I am ready, they will either come out again, or I can send them a video of the engine running.  They will then issue the airworthiness certificate - 90 years after the first one was issued!

The items yet to finish...

Cindy and I are going to make the cockpit combing over our Christmas break from school.  I have the original, so it will be a matter of duplicating it with the cobra-grain material that the rest of the upholstery was made from.


Then, I need to make a set of wheel covers which I have already started on.  They will look like these in the photo - an inner and outer set of covers that I'm sure will make the airplane extremely fast by reducing drag!


The last thing will be an extensive ground run for break-in and check operating limits.  Back in the 20's, Parks College, who was operating a fleet of OX-5 powered airplanes, came up with a break-in procedure that most people still use today.  It's what I will use, and want to end up with about 6 hours of ground run prior to its first flight.  Being a single ignition engine I don't want to take any shortcuts!

So that's it!  I'll put in a post or two on the cockpit combing and wheel covers as well as the first engine run - perhaps a video too.

In the meantime, Have a Merry Christmas!

Sunday, October 22, 2017

Wings On

Pink Floyd had a song Pigs on the wing.  I hope this airplane doesn't live up to that title, but regardless we have an assembled and rigged airplane!

The careful measurements I took when assembled prior to covering now paid off.  The final process went without a hitch.  Like some of us were discussing, though, even if the rigging is dead nuts on, there's no guarantee the airplane will fly straight and level.  We'll just have to wait for the first test flight.

Here are some shots of what I did the last couple of weeks.


I borrowed this lift from my friend Kent McMakin.  Made installation a one-man job.


Once in position, I supported the wings with a wooden structure.  It's adjustable to set the dihedral and angle of incidence.


Both uppers installed and leveled.


 I'm skipping a lot of steps here, but same process for the lowers. 

Before the wooden structure can be removed, the struts and wires obviously have to be installed.


Then, the ailerons and slave struts.

Notice the sleek, aerodynamic, high performance look of this four-aileron aerobatic wonder!


 Here are some detail shots of the assembly...


Cabane struts and transverse wires.


Interplane (N-struts) and aileron slave struts.


Misc. wire attach points.


The airplane was rigged with 0 degrees dihedral and 1 degree angle of incidence on the upper wing, and 2 degrees dihedral and 1.5 degrees AOI on the lowers.  These are the original L-P specs.

What's next?  I have to attach and rig the aileron cables, make the wire javelins, inspection covers for the wings, wheel covers, and cockpit combing.  Soon, I'll be at a point to weigh the aircraft and set up a time with the FSDO for a Conformity Inspection.  We're getting close!

Sunday, October 8, 2017

Work Resumes!

What's this, a new blog post?  I'm happy to say that after taking possession of our new hangar in Brodhead on June 1st, I officially finished getting it ready on October 7th.  This, of course, involved the move, but most time was spent building and setting up my new shop and the rest of the hangar.  

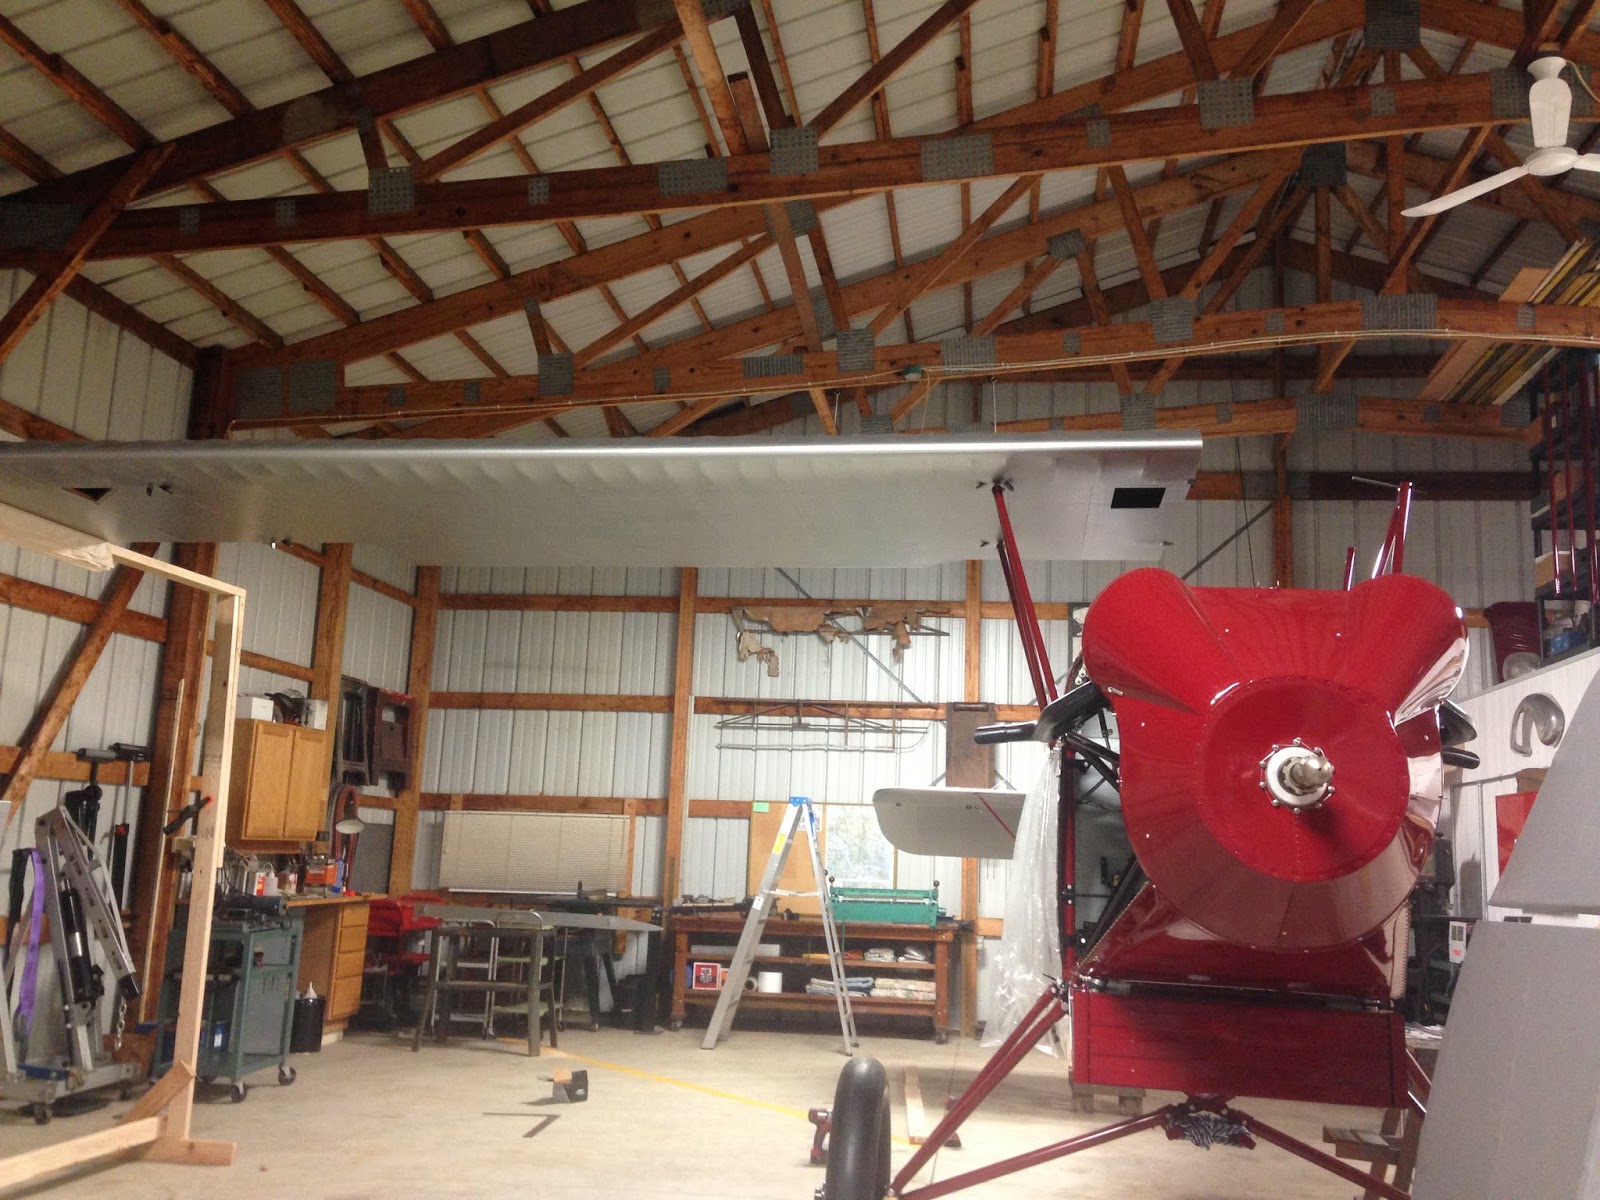
I was spoiled in my last hangar - the whole thing was heated.  Here, it was going to be too much work, so I opted for building just a shop that I can heat and air-condition.  It gives me enough room for fabrication as well as room for a wing panel or fuselage.

 Here's a couple shots of the inside...


I then celebrated the completion by immediately starting on the L-P again.  I actually got a few things done prior - I was getting nervous that I would run out of warm enough weather to paint and there were a few things I had to get done.

My previous posts talked about my disappointment with the red paint.  Well I got it re-sprayed with a very good match this time.  I also wanted to get the flying wires painted.  Painted?  Yes, early aircraft did not use stainless steel wires.  They were carbon steel either painted or covered with spray metal - a molten aluminum coating.  I use an aluminum epoxy coating from Tenaco that is the perfect color and very durable.

 Here they are, ready to be installed.


 And here's the fuselage.  Sorry it's covered up.  I just grabbed some quick shots as I left the hangar today.  I think you can tell, though, even under the plastic how much better the match between the red on the metal and fabric is.

Also, the fuselage is leveled longitudinally and laterally in preparation for the wing attachment.  That is next on the agenda.  I like to build a wooden structure to support and adjust the wings when I install them.  I can get the rigging much more precise this way.

So, over the next couple of weeks I hope to have the structure built and the wings installed!

Things are drawing to a close on this project.  I doubt I'll be doing any test flying yet this fall, but will certainly continue to keep everyone posted on the progress.  Stay Tuned!