Holy Bernoulli equation, Batman - the upper wings are done, actually all the wings are done!
 |
| Left upper wing |
 |
| Right upper wing |
It took almost 18 months to the day, to build these - what a relief. This has, and will be, one of the biggest tasks of this project as everything had to be made new. And, I would still be working on them with not all the help from Andy and his son Dennis making all the ribs - Thank You!
Prior to finishing them, I had to complete a couple of things - ailerons and tip bow. Here's how that went:
Ailerons
 |
| Marking rib alignment of wing to aileron |
I started by attaching the aileron spar to the trailing edge of the wing, aligning it in it's final, installed position. This way I can be sure the ribs on the aileron will align perfectly with the ribs on the wing.
 |
| Gluing main ribs in place |
Next is attaching main ribs to spars. Plastic food wrap underneath keeps parts from sticking to bench as glue dries!
 |
| Trailing edge ribs and capstrips installed |
Install trailing edge ribs and capstrips.
 |
| Trailing edge installed |
The aileron is then reinstalled on the wing to attach the trailing edge. This assures it is in alignment and straight with the trailing edge on the wing.
 |
| Tip bow with copper strapping |
Finally, the tip bow is installed - 1/4" 4130 tubing with copper strapping as per the original.
Here they are, completed and varnished.
Wing tip Bows
 |
| Marking location of wing tip bow to aileron tip bow |
I wanted to make sure there was a nice transition and alignment of the aileron tip bow to the wing tip bow. So, I installed the aileron and marked the rear spar where the 3/4" tip bow tubing would attach.
 |
| Bending tip bow |
The bow is made from 3/4", .028 wall 4130. With this thin wall, the tubing can be formed with a conduit bender. You just have to go slowly to avoid kinking the tubing. I had previously made a template so I knew how much to bend the tubing.
By the way, many aircraft of this era used a laminated wood tip bow, the Lincoln-Page used the tubular type like I made here.
 |
| Final alignment check |
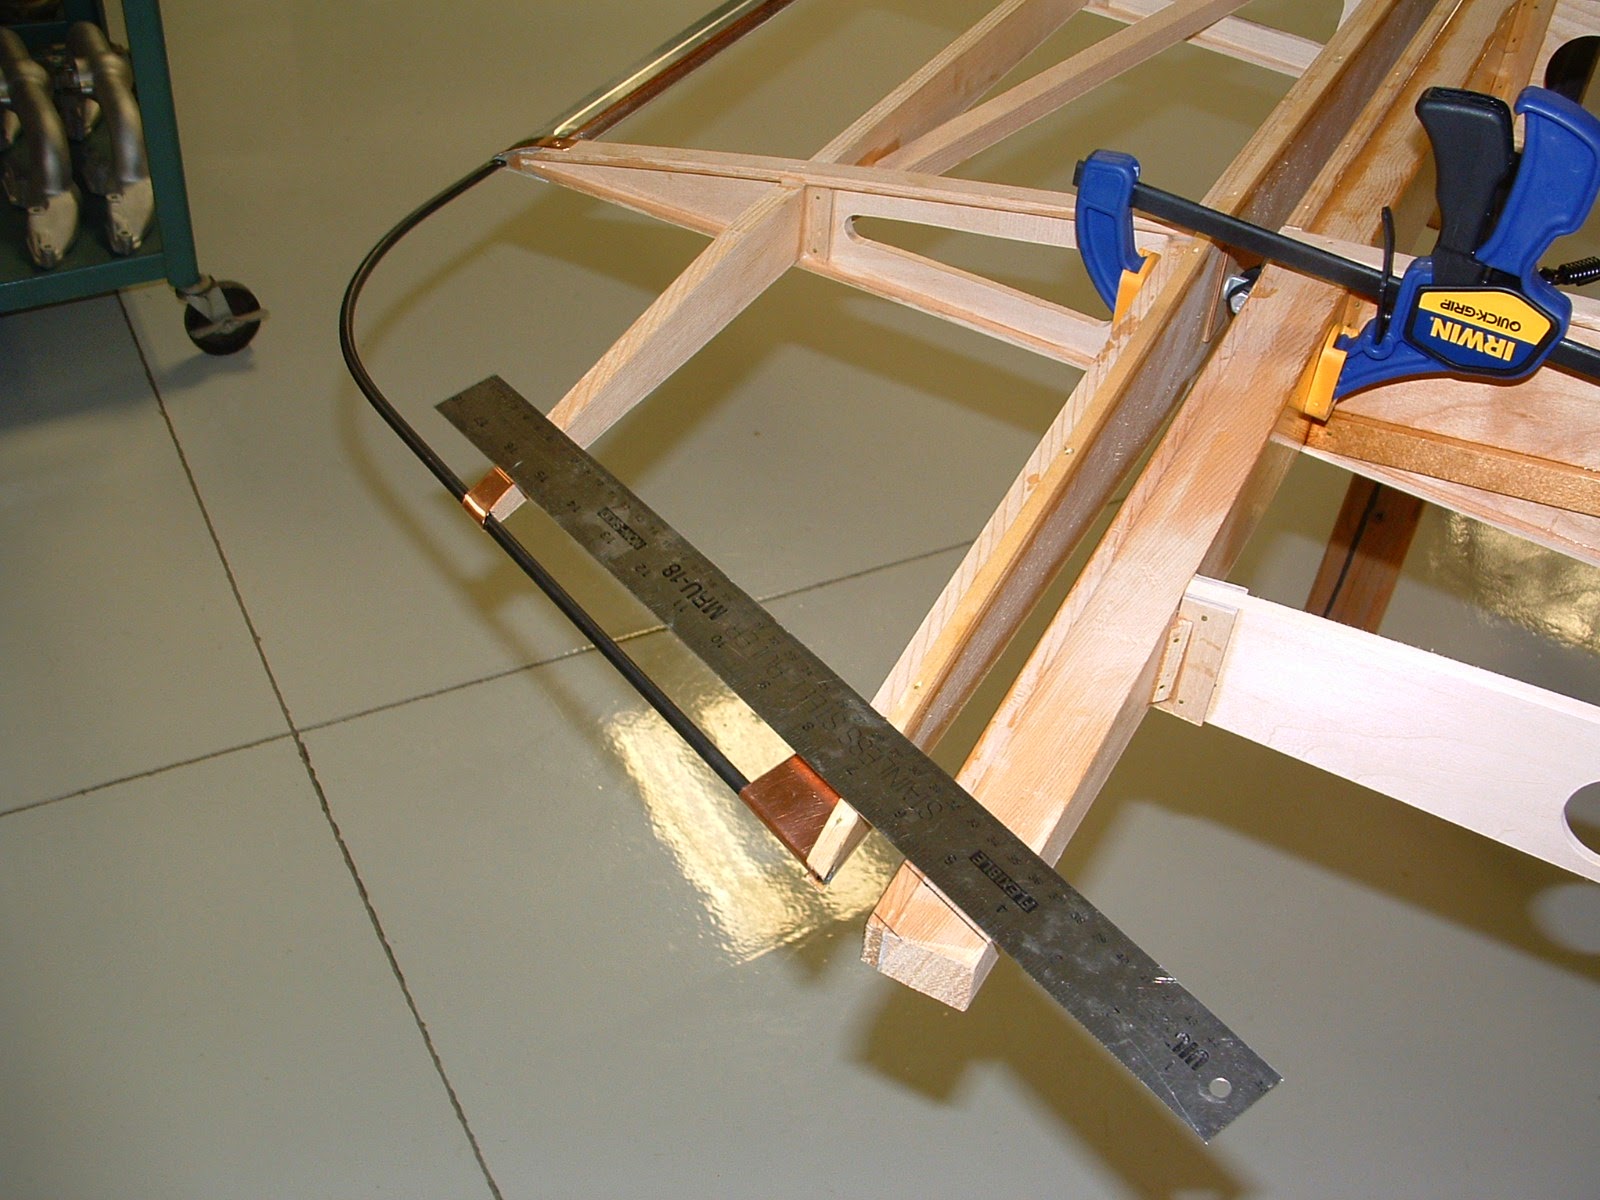
Here, I'm checking alignment after the tubing has been curved and the spars drilled to accept the tubing.
 |
| Completed tip bow |
I realize I'm skipping a lot of steps here, but here it is installed with the mounting brackets welded in place, wood cross supports attached, and painted.
Once these 2 things were completed, I could put the final coat of varnish over the wings and jump up and down and celebrate in my hangar like a mad man (OK, I really didn't do that!)
With the wings done, it's time to shift gears. I need to temporarily mount the wings to the fuselage. This will allow me to make all the struts, make and run all the cables in the wings and measure lengths of all landing/flying wires to order when ready. I'm going to start by making the cabane struts. This will allow me to set the top wings in their proper position with respect to the bottom wings. With no center section, this complicates rigging a little, but does eliminate a whole other component. Then the lengths of the remaining struts and streamlined wires can be determined. None of the struts survived over the years with this project. So again, as with the wings, they will have to be made from scratch.
First, I'm going to take a little time off from the project to annual the Funk. With the weather finally in the 50's and 60's it's time to go flying!
Check back for an update - other than wings finally - in a couple of weeks.

No comments:
Post a Comment