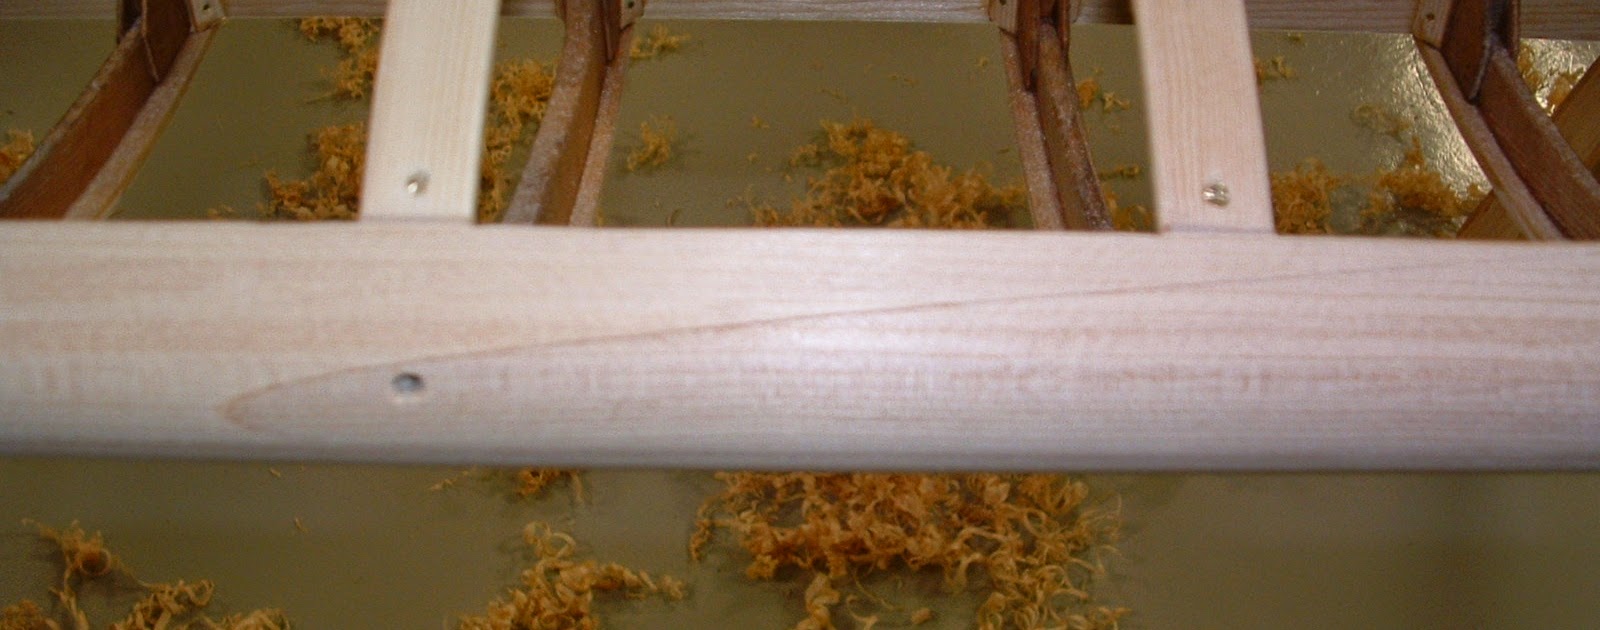
With this step finished, all that's left is the tip bow and varnish. Here's how the leading edge went:
 |
| Glued up scarf joint |
Here you can see one of the scarf joints on a 1 3/4" X 3/4" spruce board.
 |
| Spruce board glued to nose ribs |
It was then glued to the nose ribs, and I marked the end with a template of the final contour. A #4 X 1" brass screw went through the leading edge and into each main rib in the wing. This is how the original leading edge was installed.
 |
| Hand planing to shape |
I then used a hand-plane to start shaping the leading edge. A lot of work, but I like doing it this way as I can keep it straight as well as blend it in properly with the nose ribs.
 |
| Sanding block used for final contour |
Once planed, I use this sanding block that has the correct profile of the leading edge. This made sure the final shape was consistent the whole length and smoothed it up for varnishing.
 |
| Finished leading edge |
Here is what it looks like after the final sanding.
You can see in this picture how nicely the scarf joint blends in after planing and sanding.
Before I finish the tip bows, I want to make the ailerons. I do it in this order to make sure the tip bow blends in nicely with the aileron on each wing. The ailerons go together quickly. I made components for all 4 ailerons at the same time, so it's just a matter of putting the pieces together.
Other stuff...
I had gotten an early Scintilla eight cylinder magneto. Since I've been in "magneto mode" I decided to go through it. It's a Scintilla GN8-D1, an aircraft magneto designed for engines with a 4" or larger bore (that's what the "G" indicates). Suitable for the OX-5, but the OX-5 was not designed to drive this magneto. It has a 4-pole rotating magnet which fires 4 times per rotation. This means it has to rotate the same speed as the engine in order to fire 8 times in 720 degrees of rotation. The original Berling is a 2 pole magneto which has to rotate at 2X engine speed in order to provide 8 sparks per 720 degrees (only fires 2 times per rotation). So in order to use the Scintilla, I'll have to design and make a gear box with a reduction. It's something I'm going to play around with, but still plan on using the Berling initially.
There are a couple of things about the Scintilla that do intrigue me: it has an impulse coupling, which will make starting the OX-5 easy, and Scintilla mags are an exceptional piece of equipment - the engineering, manufacturing and operation are some of the best out there. As an example, the distance between the rotating armature and pole shoes in the housing is .002"! This makes for a very low coming-in speed.
 |
| Scintilla GN8-D1 with impulse coupling |
Here's how it looked initially. the armature was stuck, the impulse coupling didn't work, and the spring for the contact breaker assembly broken.
I won't go into the details of the overhaul, but just show some final pictures. I was able to get everything repaired and I will say it lives up to the Scintilla quality. Just turning it over by hand produces a spark!
So we'll see what I do with it. As I said, it will need a gear box to be used on the OX-5. Not an impossible task, but just not a high priority right now.
Next - I'm going to build the ailerons for the upper wings, make/install the wing tip bows, and apply the final coats of spar varnish. This should all be wrapped up next week. The college I teach at will be on spring break, so I'll get lots of hangar time!


No comments:
Post a Comment