Sorry for the delay, I know it's been a while since the last update, but things are progressing nicely.
 |
| Primed fuselage |
I mentioned in the last update that I had to prime the fuselage and tail surfaces, but needed a calm, warm day which we just didn't have. Well, it finally got calm and warm and got these covered with DP Epoxy Primer. No matter how you slice it, tubing just sucks to paint. So easy to miss places! Being able to rotate the fuselage helped tremendously. Final color will be black, but will leave it in primer for all the fit-ups to prevent scratching the final paint.
Then finally, a major step in the restoration - mounting the wings to the fuselage. I was pretty uptight about all this. As you may recall, I had to reverse-engineer many of the fittings, calculate mounting angles, etc., etc. So, I just wasn't 100% sure how everything would fit.
 |
| Checking wing for straightness with a string line |
First step was to prepare the attachment of the 2 upper wings. There is no center section, just 2 attachment brackets on the root of each wing at the spars with a long thru-bolt. I didn't drill these fittings as the wings were being built. I wanted to wait until both wings were done and align them properly before drilling.
 |
| Upper wing has no dihedral - checking level and flatness |
 |
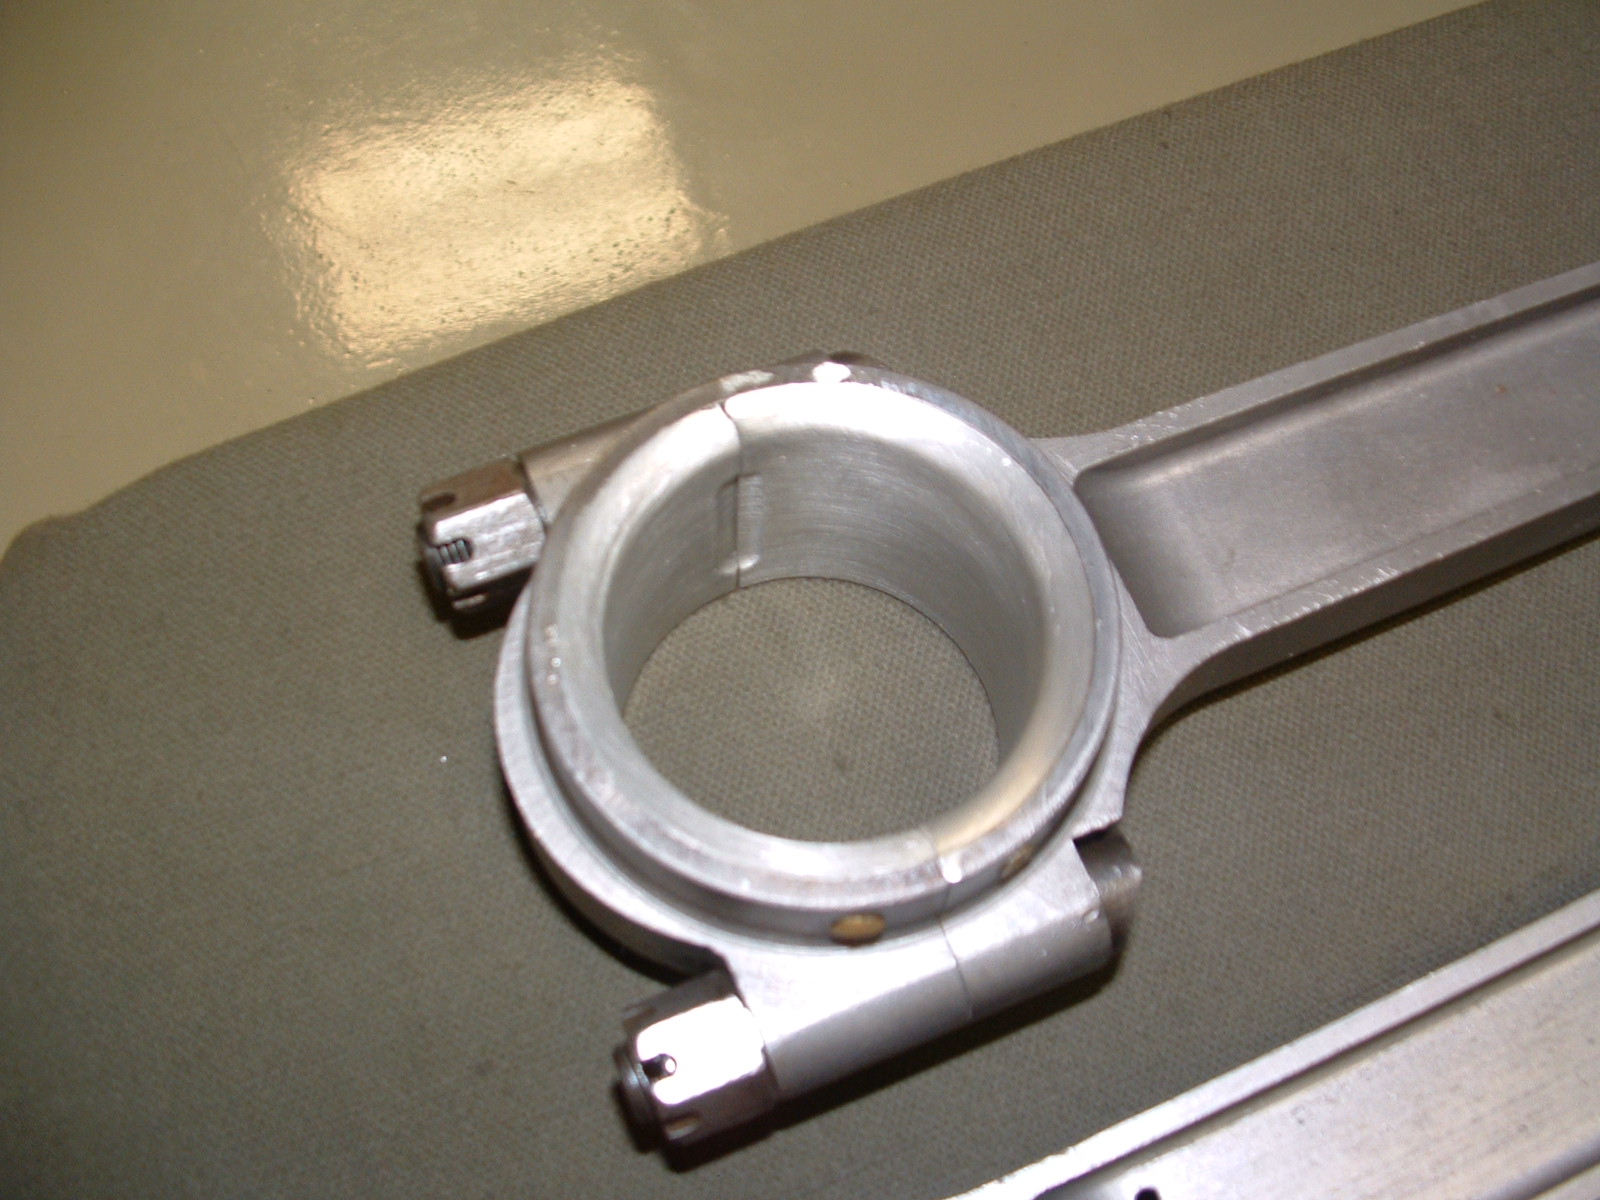
Fittings ready to be drilled. A long bolt goes thru the tabs on
these fittings from the top of the wing to the bottom. |
 |
| Fuselage leveled and cabanes on |
I then got the fuselage leveled and cabane struts on in preparation for attaching the wings.
In this photo, the upper wings are staged for attachment, although she looks good as a mid-winger!!
 |
| Upper wings on - Whew! So far, so good! |
I had plenty of good help mounting the wings. Shown from left to right are Drew, Andy and his son, Dennis (previous owners of this project) and Mark, hiding behind the front of the fuselage.
The upper wings went on great. Just lots to measure and adjust: Angle of incidence, dihedral, twist in relation to the longitudinal axis, center of wings over center of fuselage (transverse position), and stagger.
I made wing stands that you can see in the far left of the photo to support the wings.
 |
| Bottom wings on with all rigging set |
Bottom wings next. Much easier, fixed mounting to the fuselage so the only thing to adjust is the dihedral. Bottom wings have 2 degrees.
 |
Cabane mounting with temporary transverse wires holding
wings in proper position left to right. |
 |
| Lower wing mounting to fuselage |
Here's a detail shot of the cabane mounting. I also made temporary transverse wires from cable and turnbuckles to adjust the wings left to right positioning. These will be replaced with 2, 1/4" streamlined wires on each side (4 wires total).
Here you can see how the lower wings attach to the fuselage.
We started all this about 9:30 in the morning and finished about noon, all properly rigged. Very happy with the results.
The airplane will stay this way for a while. I will be building the interplane struts (N-struts) next along with the aileron slave struts. I then want to mount the ailerons and start making/running the aileron cables.
Although there is a lot of work left, I feel like I'm over the hump in having the wings done and know they mount correctly - many,many hours of work went into these! Probably an interplane strut posting will be next.
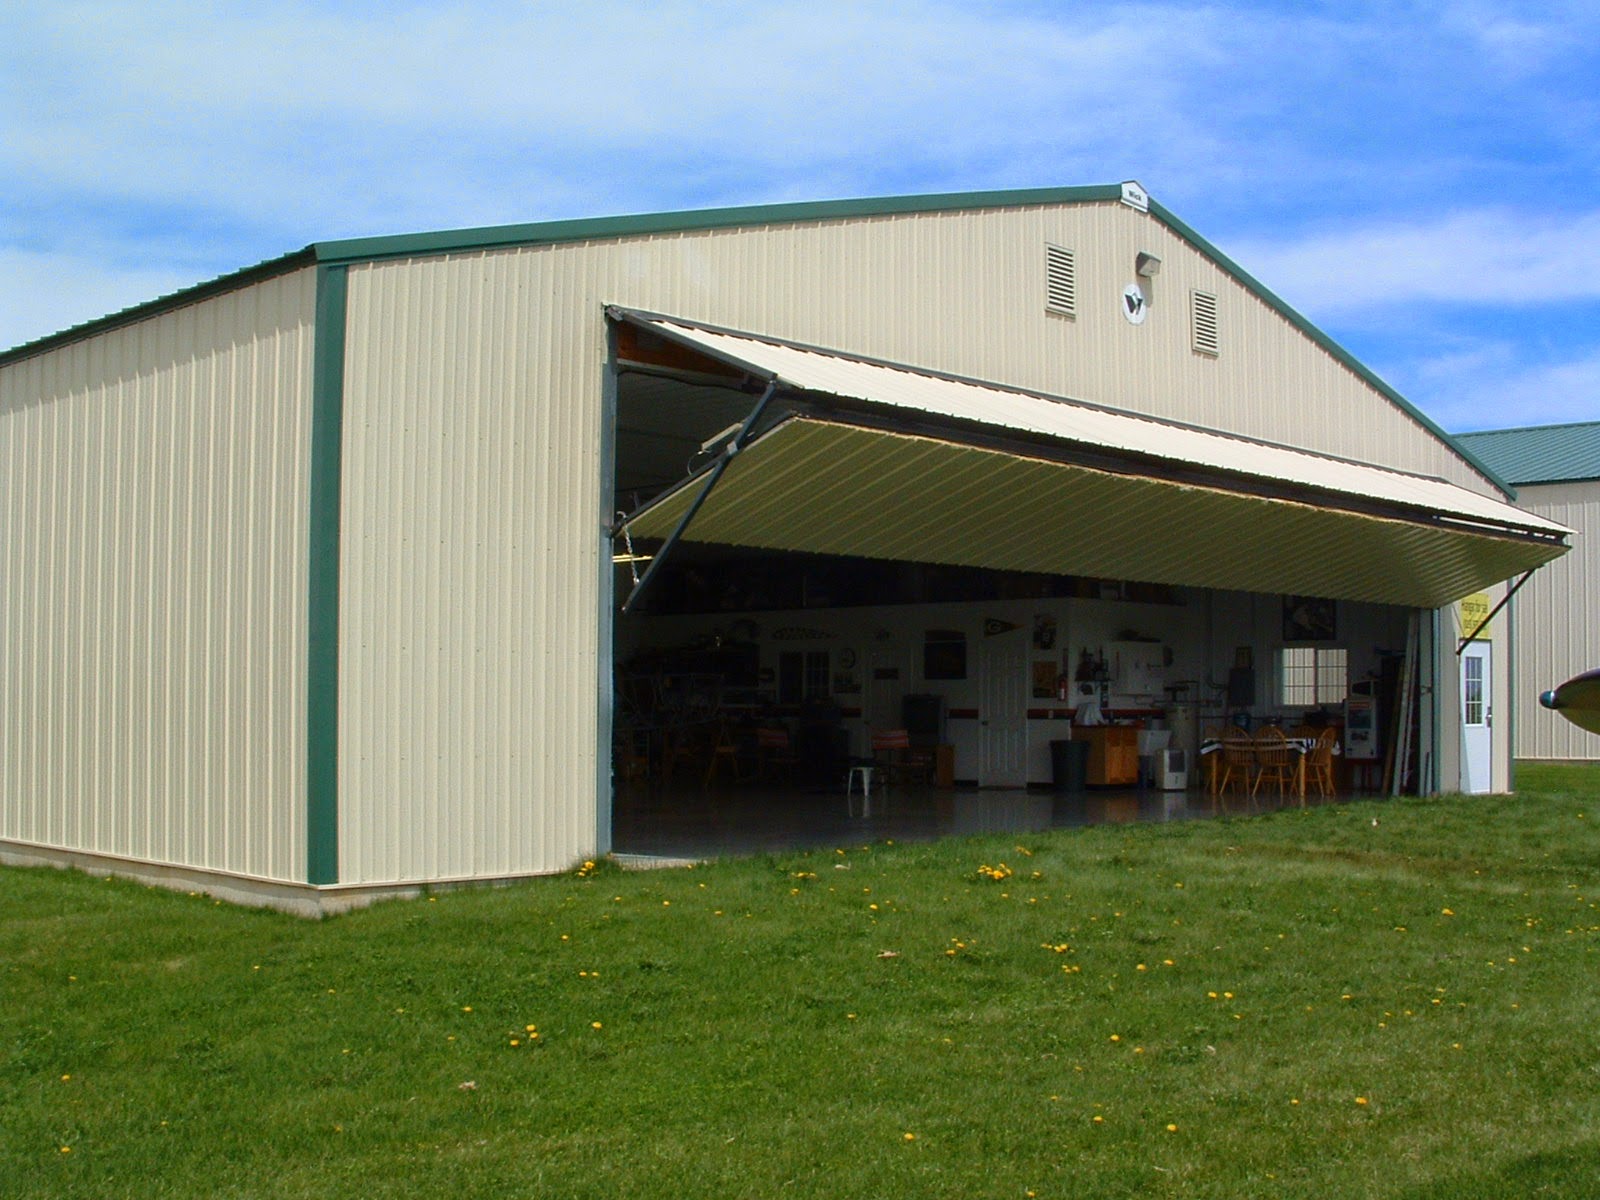
Also, and I know many of my followers are not in this area, we are trying to sell our hangar and re-locate our shop to a different airport. Our hangar is only about 5 years old, and is one of the nicest you'll find. Here are the specs...
- 60x48
- 44x12 bi-fold door
- fully heated
- commercial building (not a pole barn) with R38 insulation in ceiling and R19 in sidewalls - very energy efficient
- epoxy-painted floor
- apartment/office with laminate floor and it's own heat source
- full bath
- great lighting throughout
- quick set-up/tear down paint booth
- located on C55, Ogle Co. Airport, Mt. Morris, Illinois with a grass runway
So if you know of anyone looking for a great hangar, have them contact me. Thanks!


