Pink Floyd had a song Pigs on the wing. I hope this airplane doesn't live up to that title, but regardless we have an assembled and rigged airplane!
The careful measurements I took when assembled prior to covering now paid off. The final process went without a hitch. Like some of us were discussing, though, even if the rigging is dead nuts on, there's no guarantee the airplane will fly straight and level. We'll just have to wait for the first test flight.
Here are some shots of what I did the last couple of weeks.

I borrowed this lift from my friend Kent McMakin. Made installation a one-man job.
Once in position, I supported the wings with a wooden structure. It's adjustable to set the dihedral and angle of incidence.
Both uppers installed and leveled.
I'm skipping a lot of steps here, but same process for the lowers.
Before the wooden structure can be removed, the struts and wires obviously have to be installed.
Then, the ailerons and slave struts.
Notice the sleek, aerodynamic, high performance look of this four-aileron aerobatic wonder!
Here are some detail shots of the assembly...
Cabane struts and transverse wires.
Interplane (N-struts) and aileron slave struts.
Misc. wire attach points.
The airplane was rigged with 0 degrees dihedral and 1 degree angle of incidence on the upper wing, and 2 degrees dihedral and 1.5 degrees AOI on the lowers. These are the original L-P specs.
What's next? I have to attach and rig the aileron cables, make the wire javelins, inspection covers for the wings, wheel covers, and cockpit combing. Soon, I'll be at a point to weigh the aircraft and set up a time with the FSDO for a Conformity Inspection. We're getting close!
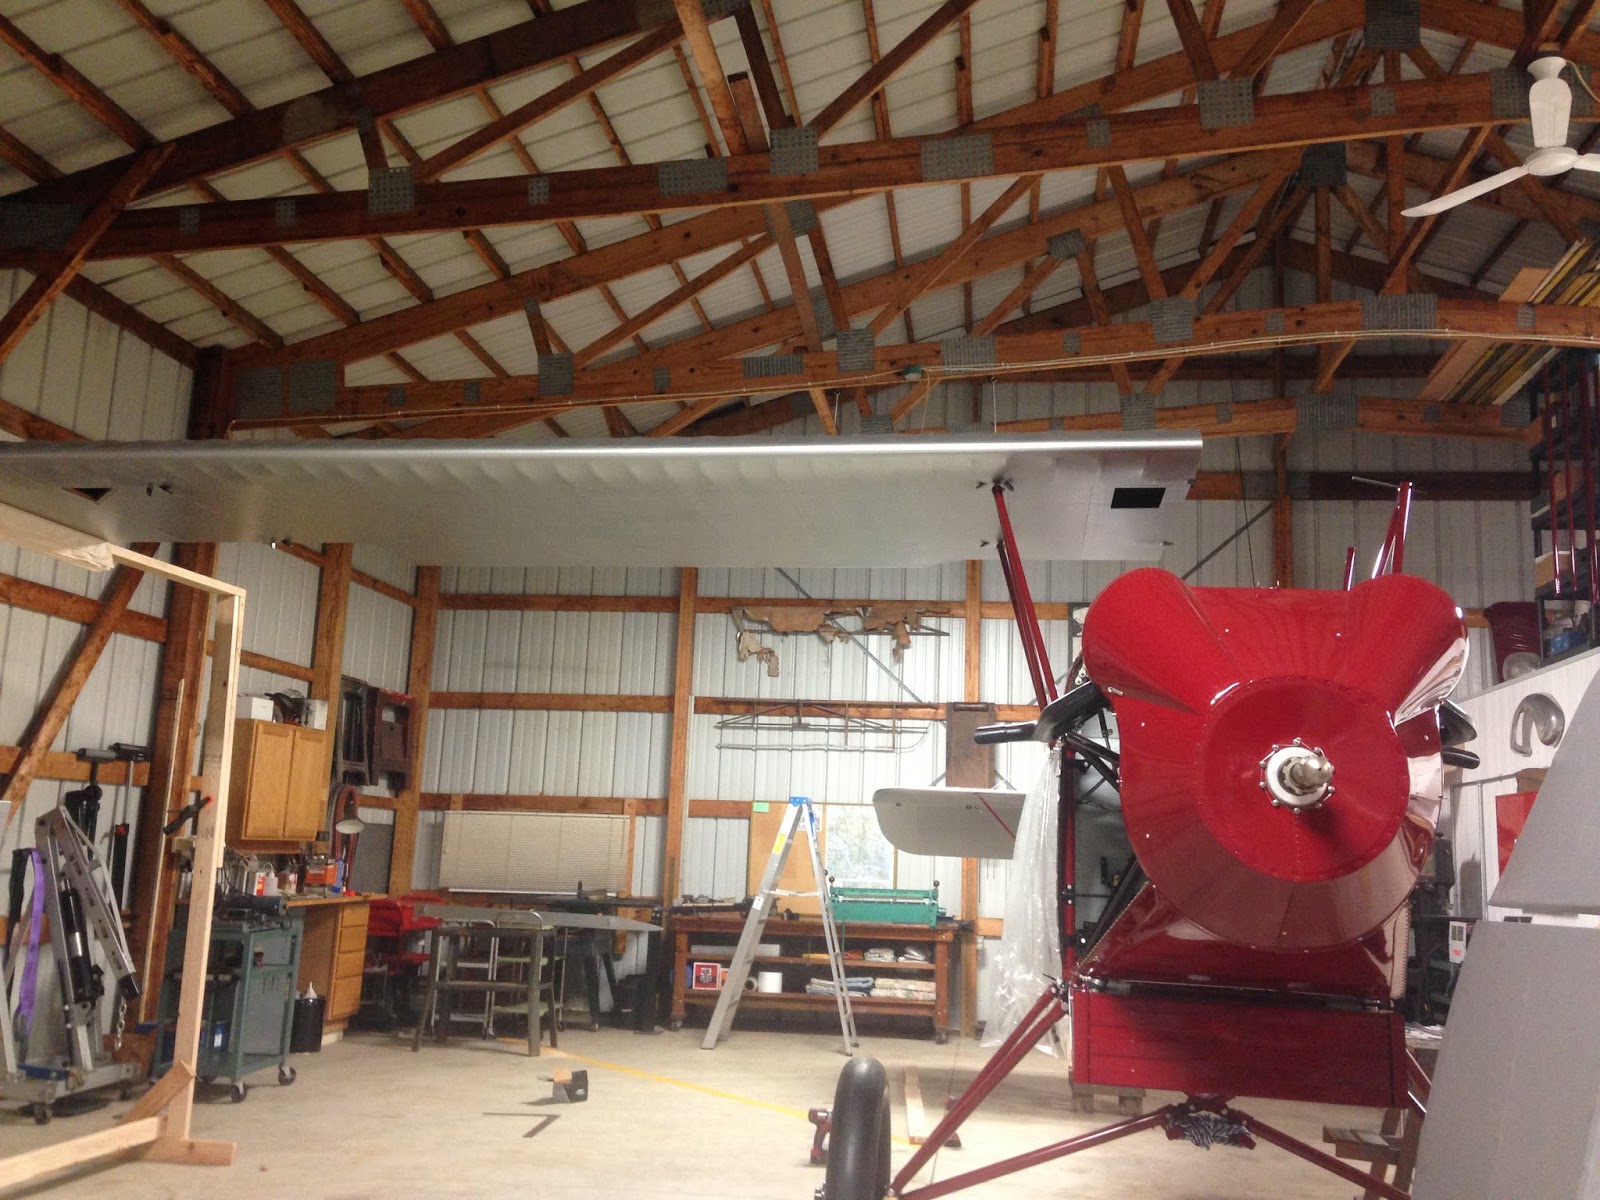
What's this, a new blog post? I'm happy to say that after taking possession of our new hangar in Brodhead on June 1st, I officially finished getting it ready on October 7th. This, of course, involved the move, but most time was spent building and setting up my new shop and the rest of the hangar.
I was spoiled in my last hangar - the whole thing was heated. Here, it was going to be too much work, so I opted for building just a shop that I can heat and air-condition. It gives me enough room for fabrication as well as room for a wing panel or fuselage.
Here's a couple shots of the inside...
I then celebrated the completion by immediately starting on the L-P again. I actually got a few things done prior - I was getting nervous that I would run out of warm enough weather to paint and there were a few things I had to get done.
My previous posts talked about my disappointment with the red paint. Well I got it re-sprayed with a very good match this time. I also wanted to get the flying wires painted. Painted? Yes, early aircraft did not use stainless steel wires. They were carbon steel either painted or covered with spray metal - a molten aluminum coating. I use an aluminum epoxy coating from Tenaco that is the perfect color and very durable.
Here they are, ready to be installed.
And here's the fuselage. Sorry it's covered up. I just grabbed some quick shots as I left the hangar today. I think you can tell, though, even under the plastic how much better the match between the red on the metal and fabric is.
Also, the fuselage is leveled longitudinally and laterally in preparation for the wing attachment. That is next on the agenda. I like to build a wooden structure to support and adjust the wings when I install them. I can get the rigging much more precise this way.
So, over the next couple of weeks I hope to have the structure built and the wings installed!
Things are drawing to a close on this project. I doubt I'll be doing any test flying yet this fall, but will certainly continue to keep everyone posted on the progress. Stay Tuned!