Saturday, May 28, 2016

Instrument Lines, Engine Controls, Fuel Tank Install

Things are shaping up quite well to start covering the fuselage soon.  Most all of the engine controls and instrument lines are installed.  Here's how everything came together...


One of the first things I did was install the fuel tank.  No big surprises here as I made it identical to the original.

The shut-off is interesting:  a rod with a couple universal joints that runs from the rear cockpit up to the tank.  The control knob is a faucet knob - cracks me up!


Fuel shut-off valve with finger strainer

Original shut-off valve prior to restoration


I like having a finger strainer on the valve, so I made one up.  Pretty easy to do, just take some brass screen, roll into a tube shape and solder together.
Shut-off valve and control mounted on tank

Fuel shut-off control knob


Next, I installed the instrument panel so I could run lines for oil pressure, water temp, tach cable, etc.


It's been a while since I did the instruments.  If you haven't read that far back, these instruments are the exact same ones that came from this aircraft when new.  Although I had to restore/overhaul them, it's quite remarkable!

Pretty spartan - no airspeed, no compass, but a clock!  This is what's installed:

Altimeter, water temp., clock, oil pressure, mag switch, tach.


Tach cable, mag wire, oil pressure line


Here are a bunch of misc. pictures of the various lines, controls, etc...


The tach cable, believe it or not, is original!  It required a good cleaning and re-lube, but this saved a lot of time and trouble not having to get a new one made.

The upper diagonal cable is a push-pull control to advance/retard the magneto for propping.

Water expansion tank with water temp bulb installed

Choke control

Push-pull control for choke (upper) and water temp line

Fire extinguisher

Radiator shutter control all hooked up

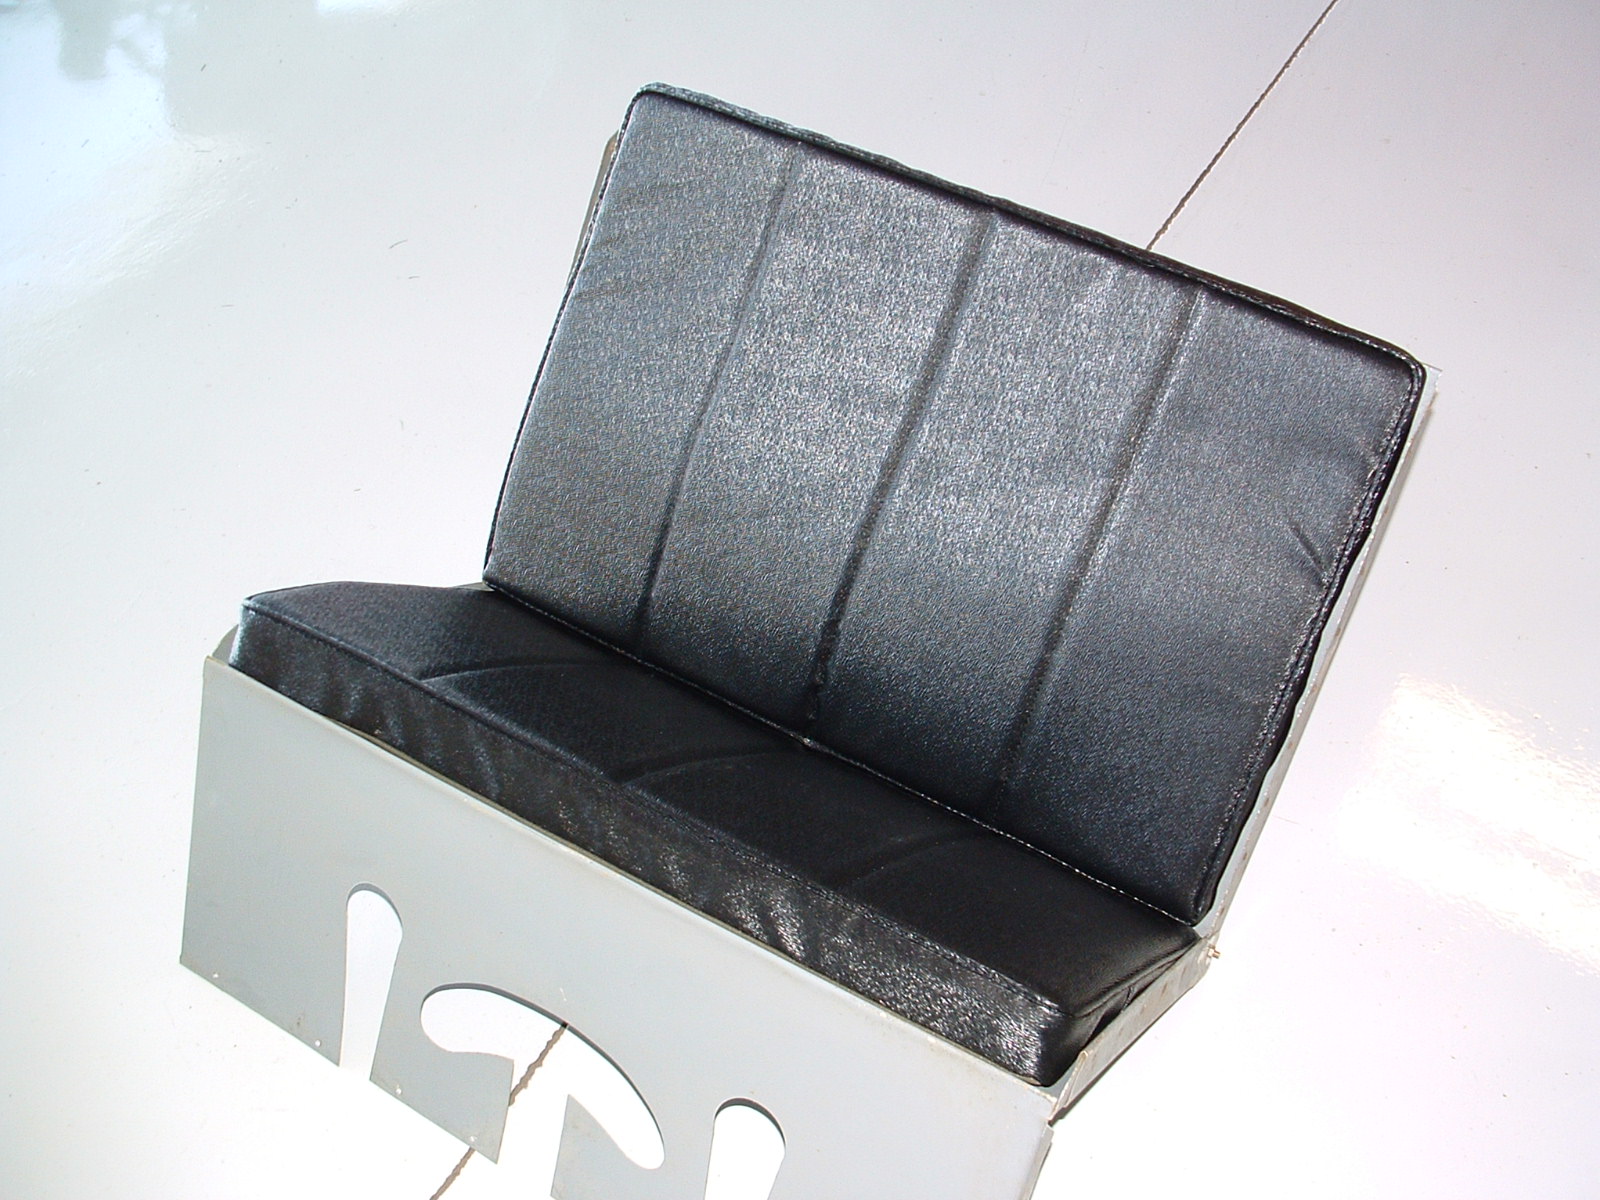
Seat belts installed


This is the water expansion tank temporarily installed to determine where to run the bulb end of the water temp gauge line.


I actually have the original fire extinguisher and bracket, but it was in very poor condition.  I had this one, an NOS unit that was still in the original box.  It was installed now too, much easier now than after the fuselage is covered.


So what's next?  Well, I still have to run the fuel line from the tank to the engine.  This involves mounting a gascolator and running the hoses.  I need to finish up attaching some rudder pedal cables and then install the rest of the interior upholstery.  That will be a little time consuming as it has to lace in so I have to make sure all the grommet holes line up correctly.  I'm thinking cardboard patterns will be a necessity!

Wishing all a nice Memorial Day Weekend.  An especially good one for us, as our son is out of the Army after 6 years, and home with us!

Saturday, May 14, 2016

Cockpit Assembly

It's been a productive week.  We are between semesters at the A&P school where I teach, and had the week off.  In last week's post, I mentioned the stripping and prep of the interior seats and panels.  This week I got them painted and installed.

Here are some pictures of the progress...

Seats and panels in the paint booth

Cover for control stick interconnect/torque tube
All the interior panels, seats and other misc. components were put in the paint booth for paint.  I used a urethane paint, slightly flattened to reduce gloss, in a gray color that matches the original.

Once dry, it was time for assembly.
Baggage compartment

Installing eyelets


Here's the cover for the control stick torque tube previously made.


The baggage compartment, installed behind the pilot's seat was next.  A panel with an access door will be installed after covering and final assembly.


The seats and other panels have eyelets that facilitate lacing in the cobra-grain leatherette material (the same used on the seat cushions).  I have dies that fit into my rivet squeezer that I use to install these.


Left, rear panel

Rear seat

Front seat and other panels installed


 All the panels then seats could be installed.  Basically, the arrangement is as follows:  In the rear cockpit there are aluminum panels on the lower half with the leatherette material laced on the top.  The front cockpit has the leatherette material from top to bottom, from the seat to the firewall.
Radiator shutter control

Pitch trim control


Here's the rear seat installed.  The cutouts at the bottom are for the rudder and elevator cables.


Front seat installation.


With the panels and seats in, some of the interior controls could be mounted.  This is the radiator shutter control.  Still need to run the bowden cable from it to the radiator.


This is the pitch trim control.  


So next, I need to finish running all the controls to the engine and front of the airframe.  Specifically:

  • Tach cable
  • Magneto switch wire
  • Oil pressure and water temp
  • Choke control
  • Magneto advance/retard control
  • Fuel shut-off valve
  • Radiator shutter control
Once this is done, I can lace in the remaining leatherette material.  Then, the fuselage will be ready for cover!

Saturday, May 7, 2016

Radiator Mounting and Upholstery

The radiator is mounted, but not without some challenges.  All of it was destroyed in the accident, so all I had were some sketchy photographs to go by.

Top cover

Lower cover


The first thing on the agenda was making covers for the top and bottom of the radiator.  The core would be exposed with paper-thin webbing between the hexagon tubes that would likely get damaged by flying debris.
Radiator attachment straps

Testing the fit

Looks good!


For rigidity, I added some beading to the lower cover.


I then had to make new mounting straps.  I had the original ones - they were still attached to the engine mount.  These were made from .080" 4130


Here it is mounted up to check the fit.  Everything came out very nice - sitting level and in the correct orientation according to all my photographs.

I still need to run the shutter control from the rear cockpit to the radiator once the interior panels are in.


The seat upholstery also got finished.  Lorraine Morris at the Poplar Grove Airport does all of my upholstery work.  She does exceptional work.  She, and her husband Ken operate www.taildraggeraviation.com

This particular upholstery is a duplicate of the original cobra-grain vinyl top material used on Model T Fords.  The interior upholstery as well as the cockpit combings will also use this material.


Seats after paint stripping

This is the front cockpit panel - no instruments


Installation of the seats and interior panels is next.  but first, a lot of paint stripping and paint work.  Is there anything worse than stripping paint?  It sucks!

Fortunately, after a good day's work, I got all the stripping done.  This week, they'll go into the paint booth for primer and gray top-color.


Finally, I'm sad to report that my dear friend, mentor and hero Eric "Andy" Anderson passed away this evening.  Andy had a remarkable aviation career, yet was one of the most humble and soft-spoken men I've known.  Andy ferried WWII aircraft after the war, flying almost every trainer, fighter and bomber made by the U.S.  Because of his experience, he as asked to volunteer for the Israeli Air Force.  He flew the Avia S-199,  a copy of the famous Messerschmitt ME109 and P-51 Mustangs.  Andy was never comfortable about his involvement with the Israeli's.  He even changed his name at the time, as people were being arrested for their volunteerism.

After this, he flew flight instruction in California and eventually landed a job with United Airlines.  He started out flying DC-3's, moved thru DC-4's, and 6's, transitioned into jets and then flew 747's until his retirement in 1986.  When asked how much flying time he had, he would answer "I quit counting at 50,000 hours!"

He was also an accomplished aerobatic pilot, having built a Pitts S1C from scratch in 11 months.  In 1966, Andy bought the Lincoln-Page I'm now restoring from its original owner.  I am now more honored than ever to be restoring this historic airplane.  I only wish Andy would be here for the first ride.  I will miss him dearly...

Andy and his son, Dennis unloading the Lincoln-Page into my hangar in 2011.