I've got the upper left wing in the booth getting all the misc. coats of nitrate and butyrate dope applied. That is all going well. This also gave me a chance to get the aircraft on the gear and things ready to hang the engine one last time. Here are some misc. pictures...
I don't think I ever showed what the bottom the fuselage looks like. So, before I removed it from the rotisserie, I took a shot. The opening on the bottom is where the rear control stick pokes through.
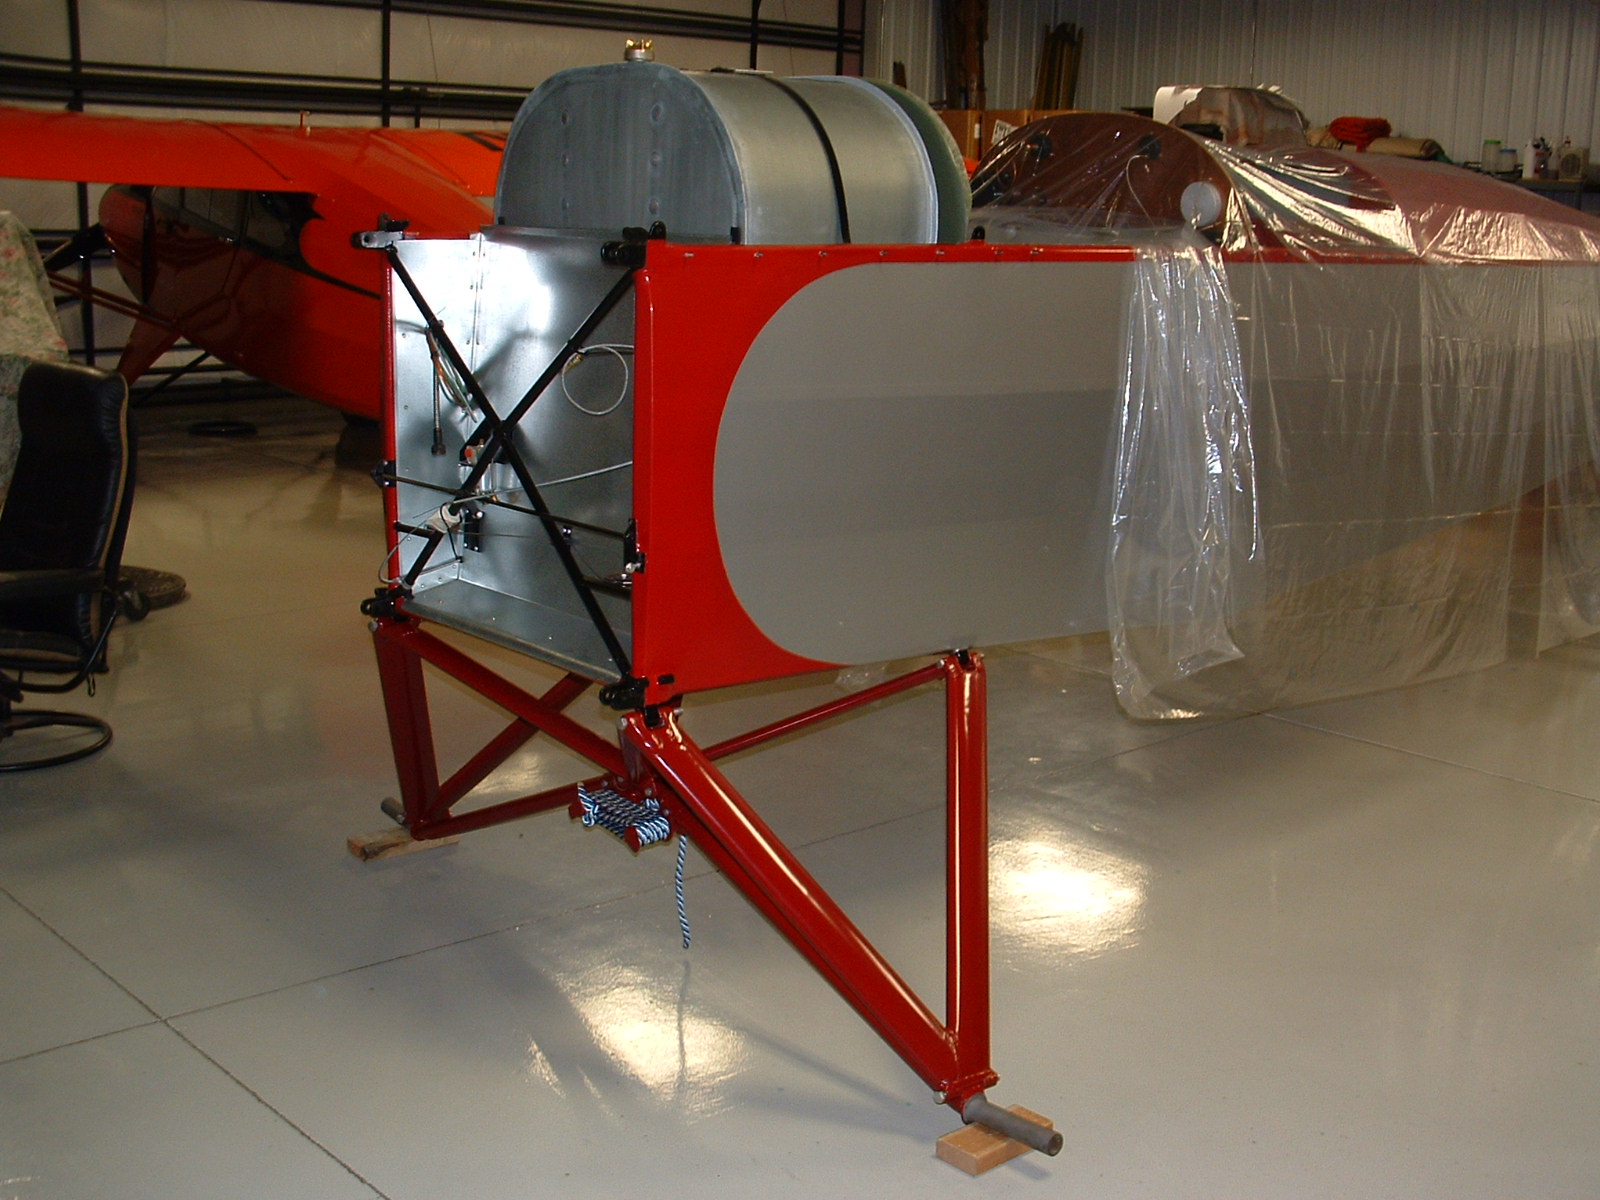
The gear needs to be on before I mount the engine as the rotisserie attaches to the engine mount lugs. I don't have the wheels yet - they are due about any time, but that's OK as the fuselage needs to sit lower to mount the engine.
The gear installation took some time, being careful not to scratch anything, plus it needed some tweaking to make everything line up properly. The axles are still going to need some adjustment once I have it on the wheels and all the weight on them.
The gear uses bungees for shock absorption that are not installed yet. I'll wait for all the weight to be up front to see how many wraps are required.
Here is an interesting part of originality. The gear legs were marked "L" and "R" for left and right with a punch. I thought about filling it in since it is visible, but decided to keep it. A fun, historical part of the airplane that needed to be kept.
So with it on the gear, I could remove the rotisserie. In order for my engine crane to lift high enough to set the engine in place, I just have it setting on the axles for now. I wrapped rope around where the bungees go to hold the gear legs pulled in.
I also needed something on the tail and came up with this. Maybe this should be my permanent tail wheel!
Here's the mount installed for hopefully the last time. Previous posts go into detail on making the mount and wood engine bearers.
What's next? Well, I am going to keep up with the wing and get it completely finished and painted, and install the engine. By then, I should have the wheels, get the tires mounted and have it rolling around on its gear - Exciting times!
In the meantime, I hope everyone has a great Thanksgiving!
Finally...one wing (specifically the upper, right wing) is done! I know it's been a long time between posts, but I wanted to wait for something significant to write about.
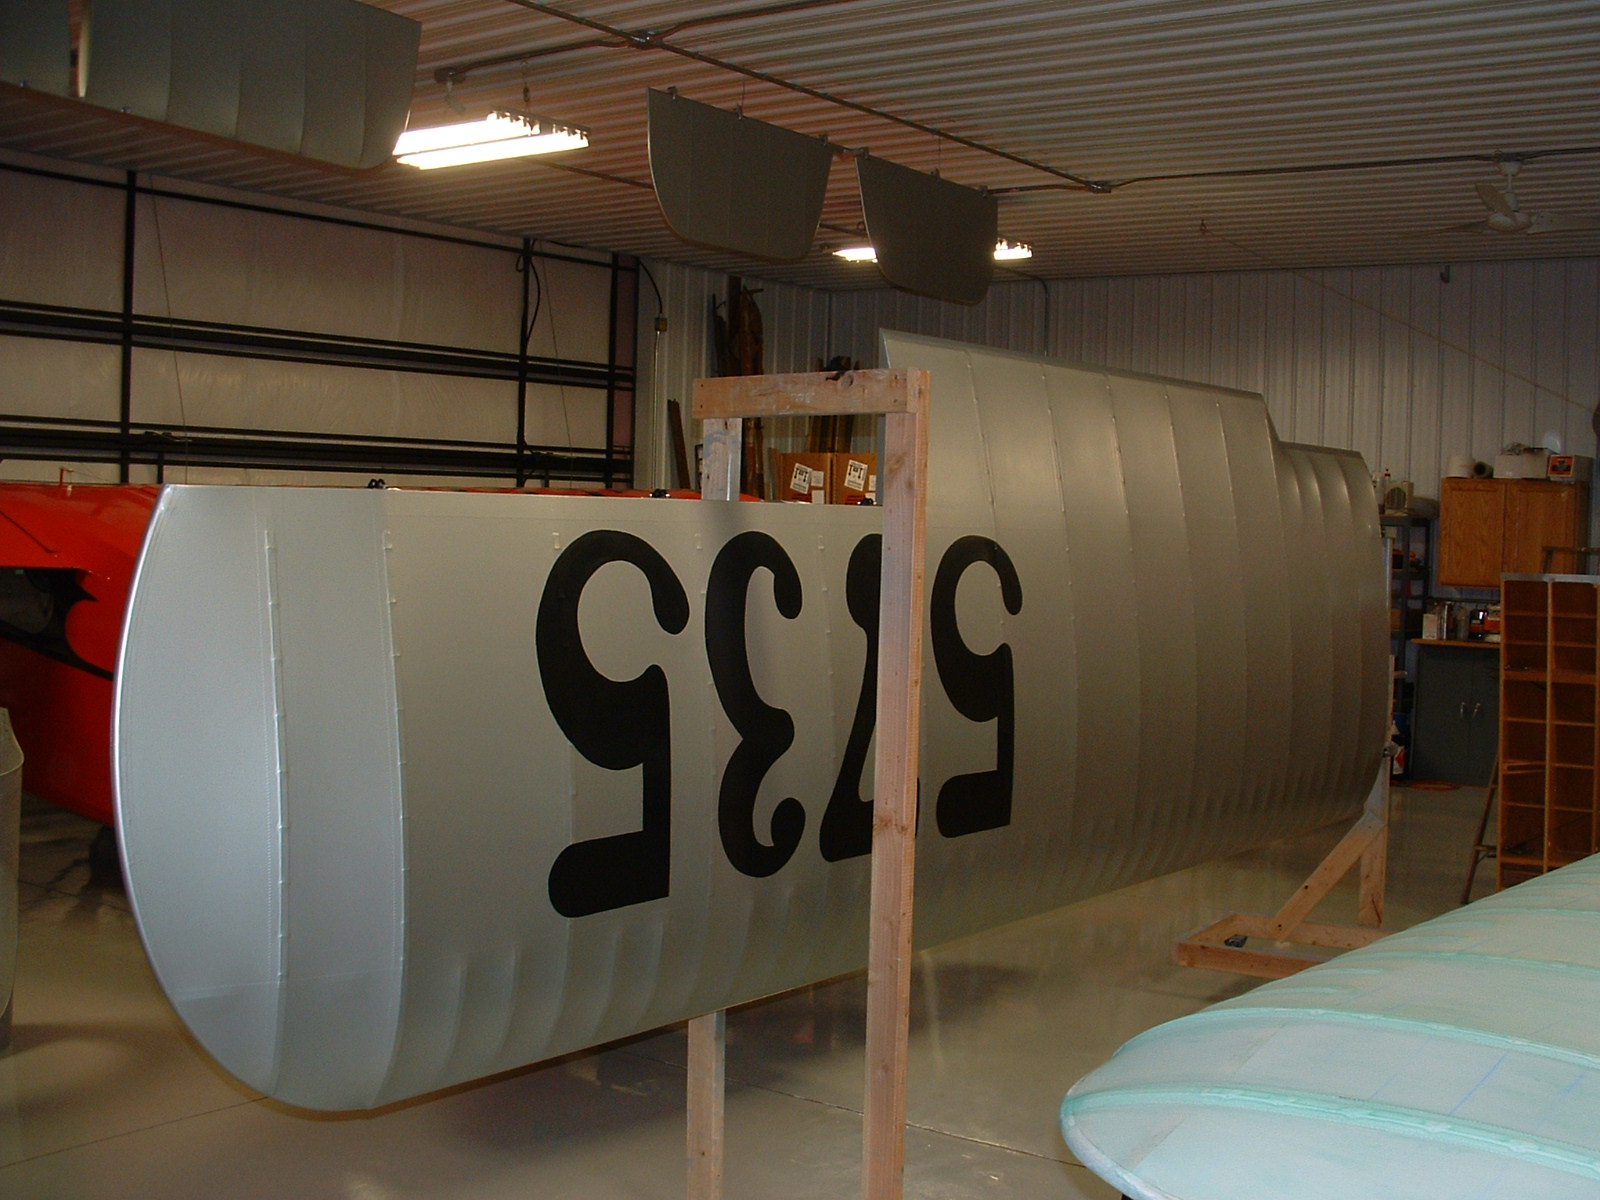
This particular wing as well as the lower left has the registration number on it. I'll get into the details of that shortly, but here is an explanation of this particular number and a little history lesson that also applies to other aircraft of this era.
Here is the actual piece of fabric from the rudder showing the number assigned.
By the way...the original owner, Chuck Balling repainted the aircraft orange and black when he took delivery. I've painted it in its original colors of silver/red.
So why the "C"? No, it's not a Canadian aircraft!
Air Commerce Regulations were put into effect late in 1926 for aircraft markings. All unlicensed aircraft were assigned temporary numbers (no letters at this time) and were to be preceded by "C" for Commercial, "P" for Private, and "S" for State once the number became permanent. It wasn't until an amendment to this regulation in March of 1927 that required the letter "N" to precede the set of numbers (this was the letter assigned to the U.S.). Initially it was only for aircraft that were involved in foreign air commerce display, but was later required on all aircraft, domestic or foreign (actual date for this is unclear). Along with the "N", the aircraft was assigned an airworthiness category letter, "C" for Standard, "X" for Experimental, "R" for Restricted, and "L" for Limited. Most of us are familiar with this form of marking. It wasn't until December of 1948 that the airworthiness category letter was dropped, but it is still legal to display it on aircraft this way for historical reasons, like NC1234.
So, going back to the Lincoln-Page...it was assigned a temporary number of 5735 when it was built on May 31, 1928. When it was sold and the Dept. of Commerce determined its use, it was assigned a permanent number of C-5735 since it was declared it was going to be used for some commercial operations. All this apparently happened before the amendment that required the letter "N" to precede the number for domestic aircraft.
I have photos showing the same font used on the rudder was used on the wings, although the "C" was never added. Probably because of the difficulty doing it, and with it displayed on the tail, it met all the requirements.
This is a copy of the application for the original "Airplane License". It shows the temporary number of 5735 and the permanent number of C-5735 after approval.
Back in the day, these numbers were mostly hand-painted. The font was not standard as required by FAR part 45 today. So, that is how I applied these in trying to keep things original.
Here's how it was done: I took the original piece of fabric from the rudder and scaled it up to 28" for the wing numbers. 28" is a guess, but based on the photos I have, it looks right.
The numbers were then traced on the wing and using a Scotch-Brite pad, I lightly scuffed up the surface for good adhesion.

I hand-painted the numbers on with black butyrate dope that I thinned with retarder. My thought was the retarder would allow the dope to melt into the silver so I would never have to worry about adhesion. Seemed to work good.
I love the look of it. Much more interesting than standard block letters!
While I was doing all the spraying and laying out of numbers, I got the upper left wing mostly covered. It's just about ready to go into the booth for spraying.
Not completely sure yet, but I may take a break from covering on the lower wings. The spoked wheels I'm getting made are just about done, so I would like to get the airplane on the gear, hang the engine and start installing other misc. things. So don't touch that dial, not sure what the next post will cover.