 |
| Original mount |
The original mount was damaged in the accident.
 |
| Engine mount fixture |
Fortunately, when my friend Andy bought this project from the original owner in the mid '60's, he built a fixture to make a new mount. Andy's intent was to quickly restore the aircraft and get it flying again, but obviously never happened. Having this fixture saved me a lot of time,and guaranteed a good fit.
 |
| Repaired front plate |
The only real tricky part of the mount is the front plate. It would have been a little difficult to make: .100" thick with 90 degree bends on a curve. The original was slightly damaged, but after removing it I was able to make all the necessary repairs.
 |
| Flattened, doubled and bent tubes |
 |
| Aligning front plate in fixture |
The tubes that mount to the fuselage have a doubler that is inserted inside and held in with rosette welds. The ends are then flattened and bent to the proper angle.
All the tubing is 1.125" diameter with .065" wall thickness.
After finishing the front plate, I welded in new U-channels and properly positioned it in the fixture, leveling the wood beams. These U-channels hold and support the 2" X 3" wood beams that are what the OX-5 attaches to.
 |
| Tacking tubes in place |
After that, other tubes could be cut to length and tack welded in place.
 |
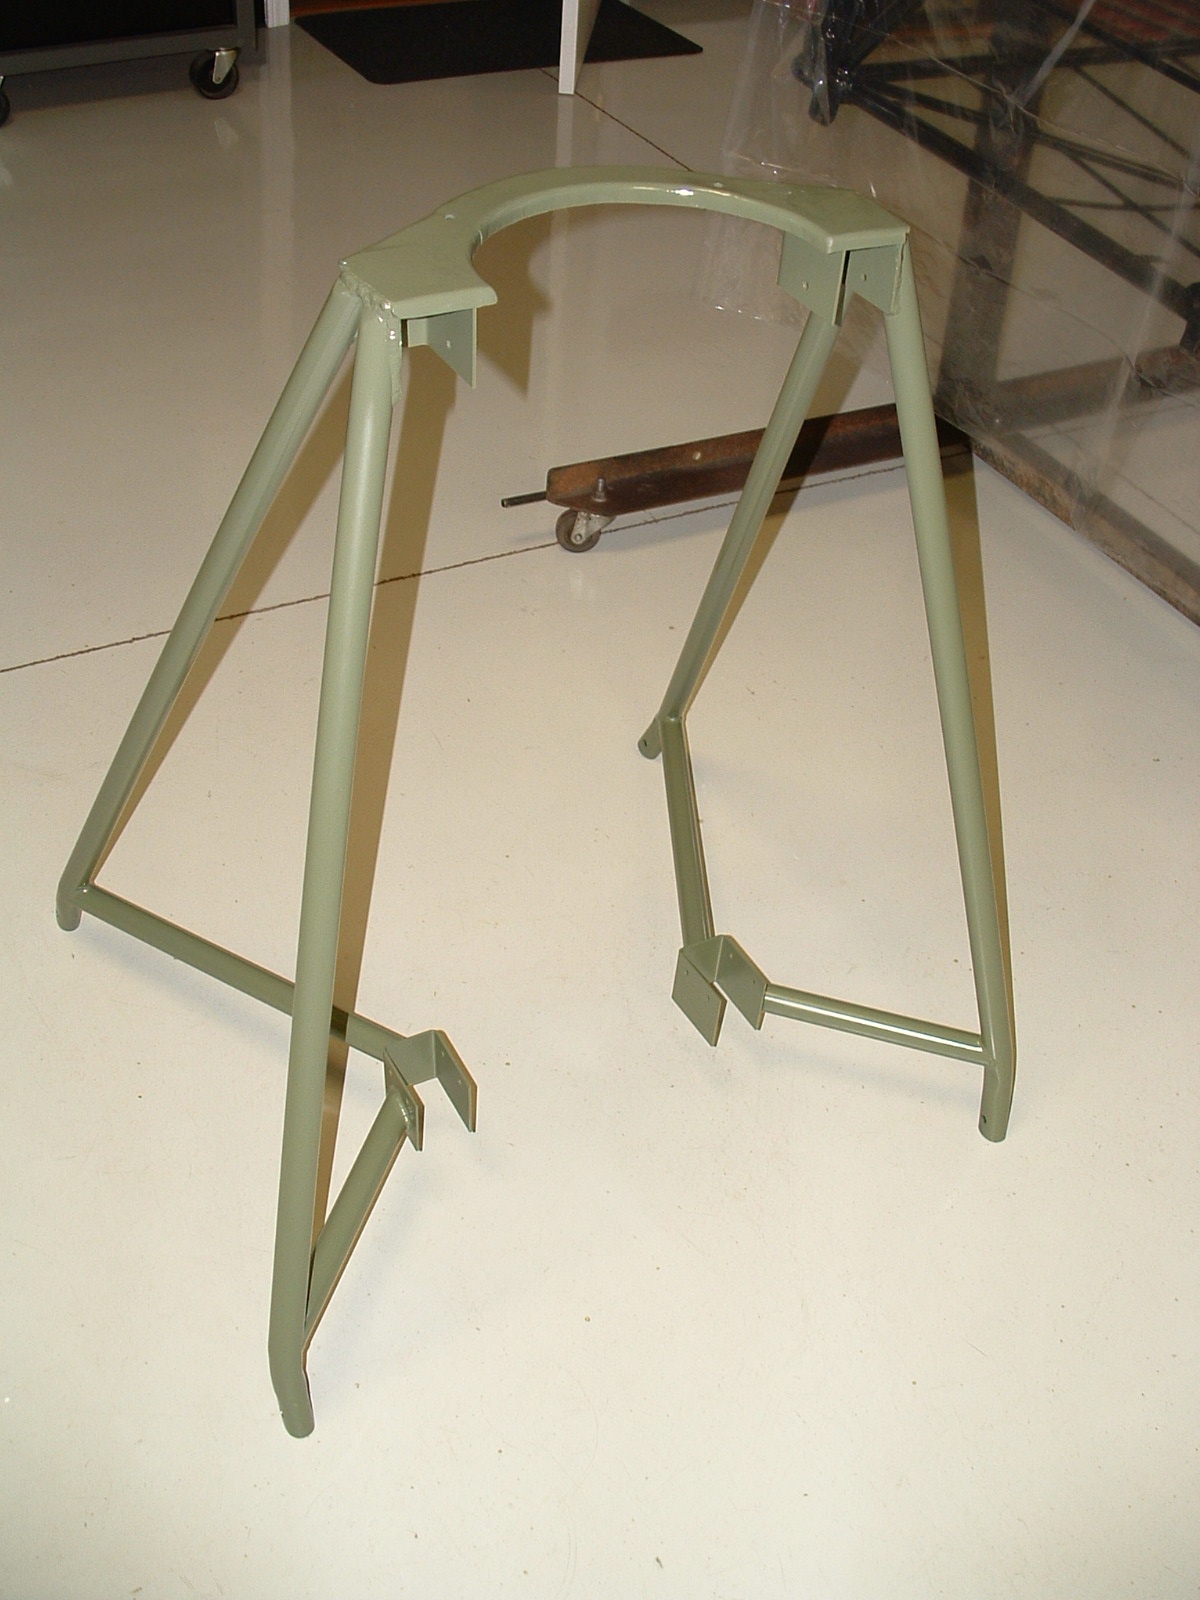
| Mount removed from fixture and finish welded |
After all the tubes were tack-welded, the mount was removed and finish welded. TIG welding is my preference for items like this.

Finally, it was given a coat of epoxy primer. Eventually it will be black, but will wait for test fitting and fit-up of the radiator, etc.
So next, I'm doing a little painting and starting to put pieces in the fuselage. It's going to start looking like an airplane soon!
No comments:
Post a Comment